Step-by-Step Guide to Using an Electric Cocktail Smoker Kit
Operating an electric cocktail smoker is designed to be effortless, even for complete beginners. If you want to explore general techniques for flavor infusion, review the main guide.
Kit Components Included
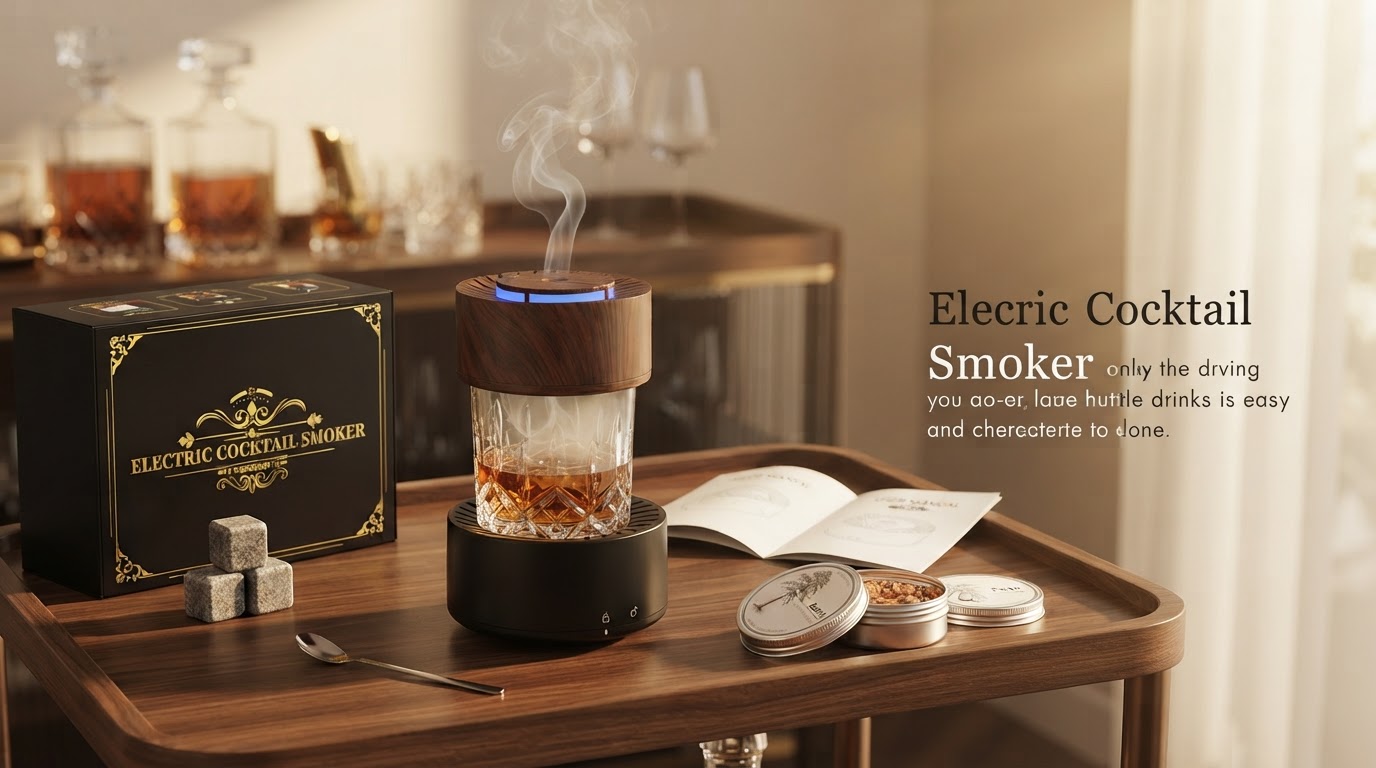
The Electric Whiskey Smoker Kit provides a complete setup straight out of the box. The set includes:
- 1 Electric Smoker with built-in lighter and LED light
- 6 Wood Chip Flavors (oak, apple, hickory, cherry, pear, beech)
- 4 Stone Ice Cubes
- 1 Spoon and 1 Cleaning Brush
- 1 USB Charging Cable
- 1 Gift Box and Instruction Manual
Decoding the LED Light Indicators
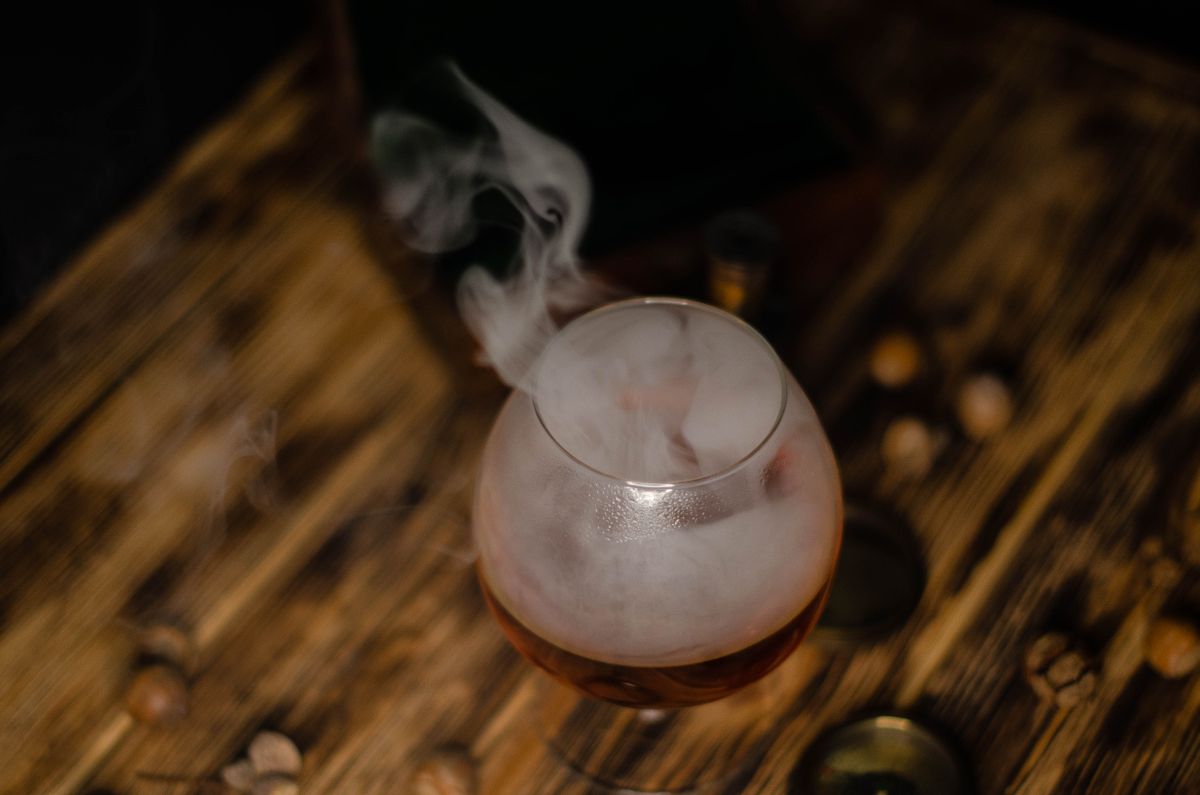
Photo by Nika Benedictova on Pexels
The smoker uses intuitive LED lights to guide operation:
- Power On (Blue Light): Press and hold the main power button for 2 to 3 seconds. The blue LED turns on, signaling standby mode.
- Ignition (Green Light): Short press the button while in standby mode. The indicator shifts to green, signaling active ignition.
The 22-Second Automated Cycle Explained
Once the green light turns on, the system initiates a 2-second safety delay before activating the heating element. It runs automatically for exactly 22 seconds—the optimal timeframe to density-fill a standard cocktail glass with rich, cool smoke without bittering the wood chips. Afterward, the unit shuts off automatically.Cleaning and Storage Tips
Photo by Marcelo Verfe on Pexels
After your session, allow the device to rest for 30 seconds. Use the included spoon to empty spent wood chips, and gently sweep the combustion chamber with the cleaning brush. Store all components back in the gift box to protect the electric heating element from dust and moisture.
Read the full guide: The Complete Guide to Smoking Whiskey at Home